Wedding Photography Editing Styles: Before and After Examples
Understanding Wedding Photography Editing Styles Key Considerations
Alright, let's dive deep into the world of wedding photography editing. It's not just about slapping on a filter, folks. It's about enhancing the story, preserving the emotion, and creating a timeless piece of art. Choosing the right editing style is crucial. It should complement the overall vibe of the wedding, the couple's personalities, and the photographer's artistic vision. Think about it – a bright and airy style wouldn't really suit a moody, gothic-themed wedding, would it?
Before we jump into the specifics, let's consider a few key things. First, consistency is king. You want a cohesive look throughout the entire gallery. Second, skin tones are paramount. Nobody wants to look orange or ashen in their wedding photos! Third, pay attention to detail. Remove distractions, but don't over-edit to the point where it looks unnatural. Finally, always deliver high-resolution images.
Popular Wedding Photo Editing Styles A Deep Dive
Okay, buckle up, because we're about to explore some seriously popular editing styles. We'll look at before-and-after examples, talk about the pros and cons, and even suggest some scenarios where each style shines.
Light and Airy Editing Examples for Bright Wedding Days
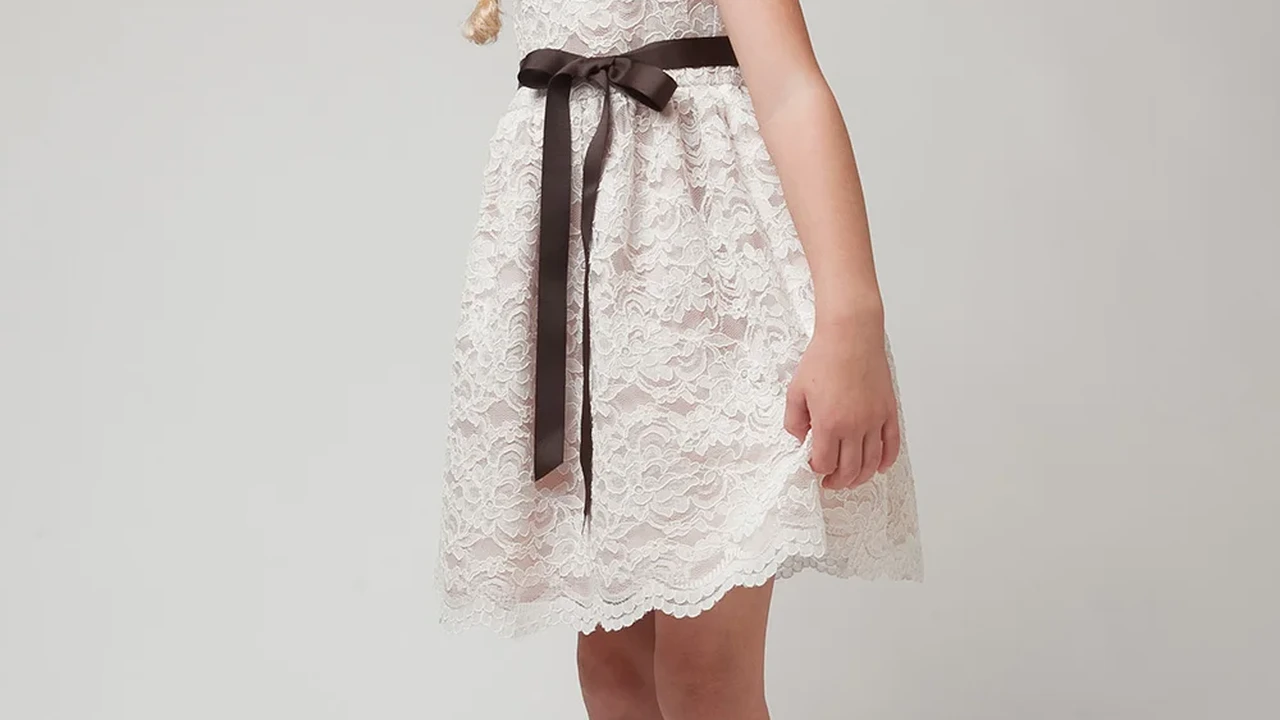
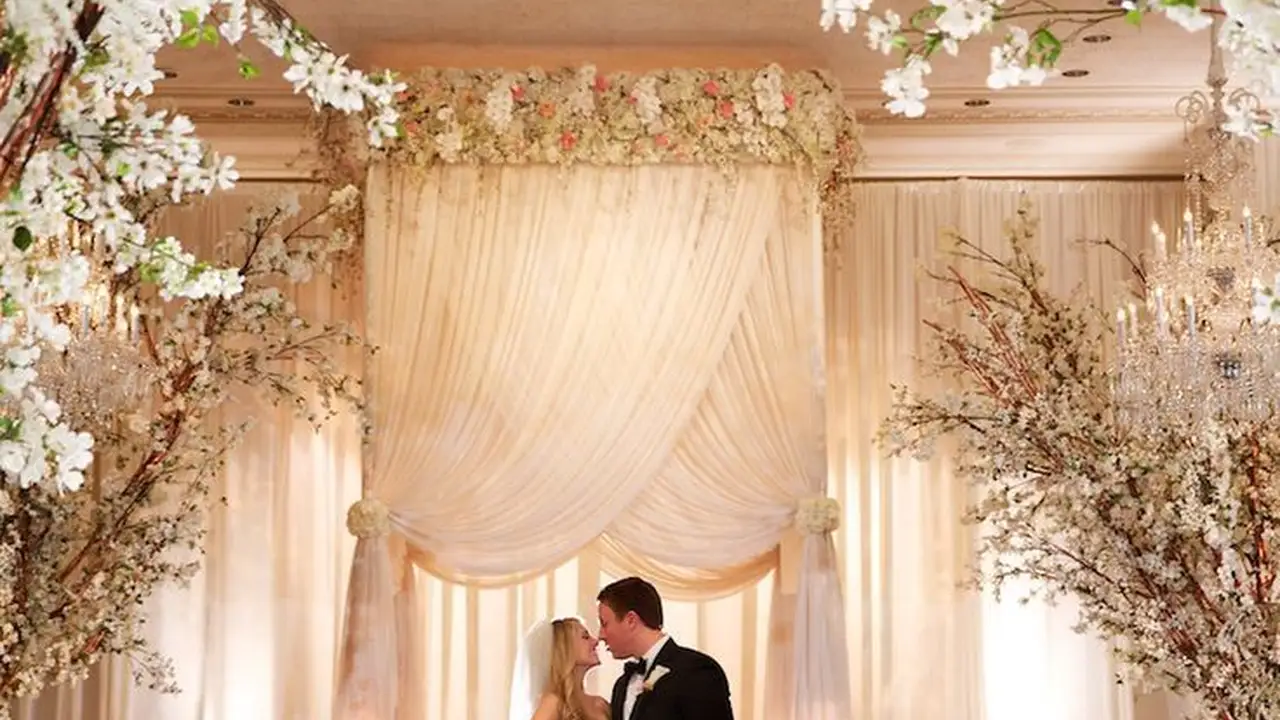
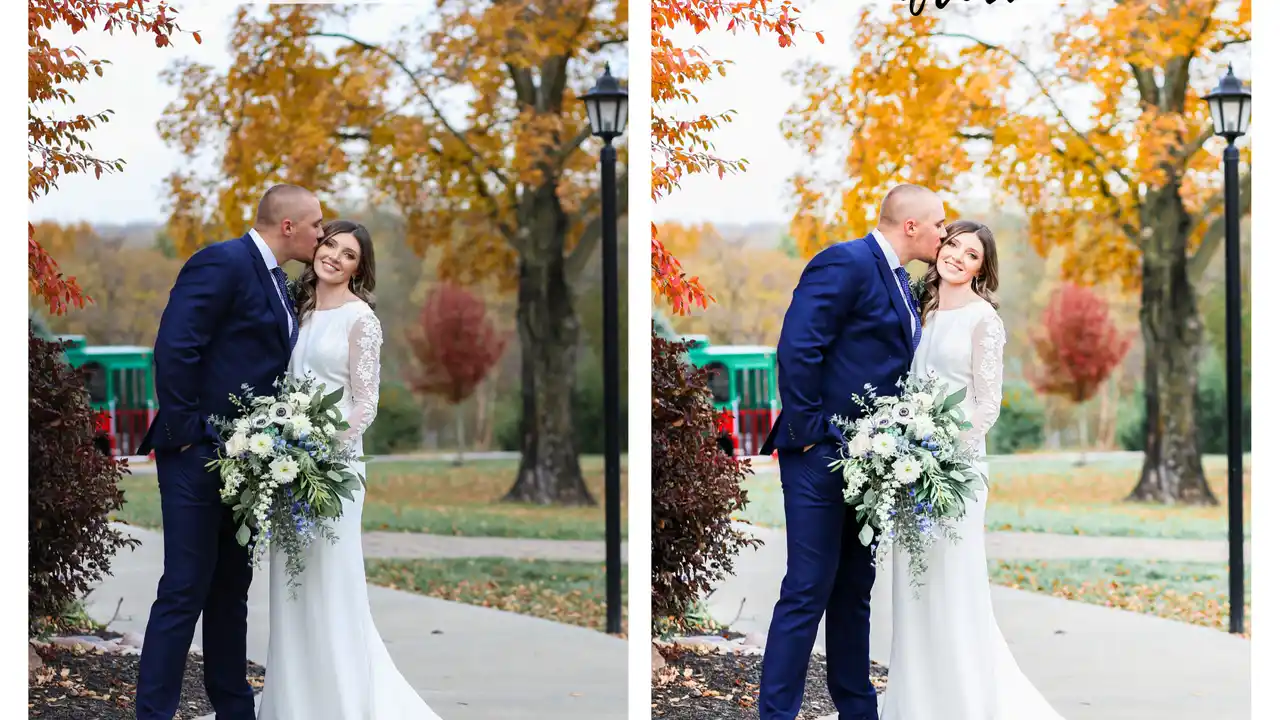
Light and airy – think bright whites, soft pastels, and a generally dreamy feel. This style is perfect for outdoor weddings with lots of natural light, especially beach weddings or garden ceremonies. It evokes a sense of romance and freshness. The goal is to make the images feel light, clean, and ethereal.
Before: A slightly underexposed image with natural colors.
After: The image is brightened, shadows are lifted, and colors are slightly desaturated for a soft, pastel look. Skin tones are warm and glowing.
Pros: Creates a romantic and timeless feel, works well with natural light, flattering for skin tones.
Cons: Can look washed out if overdone, may not suit indoor or darker venues.
Dark and Moody Editing Examples for Dramatic Wedding Scenes
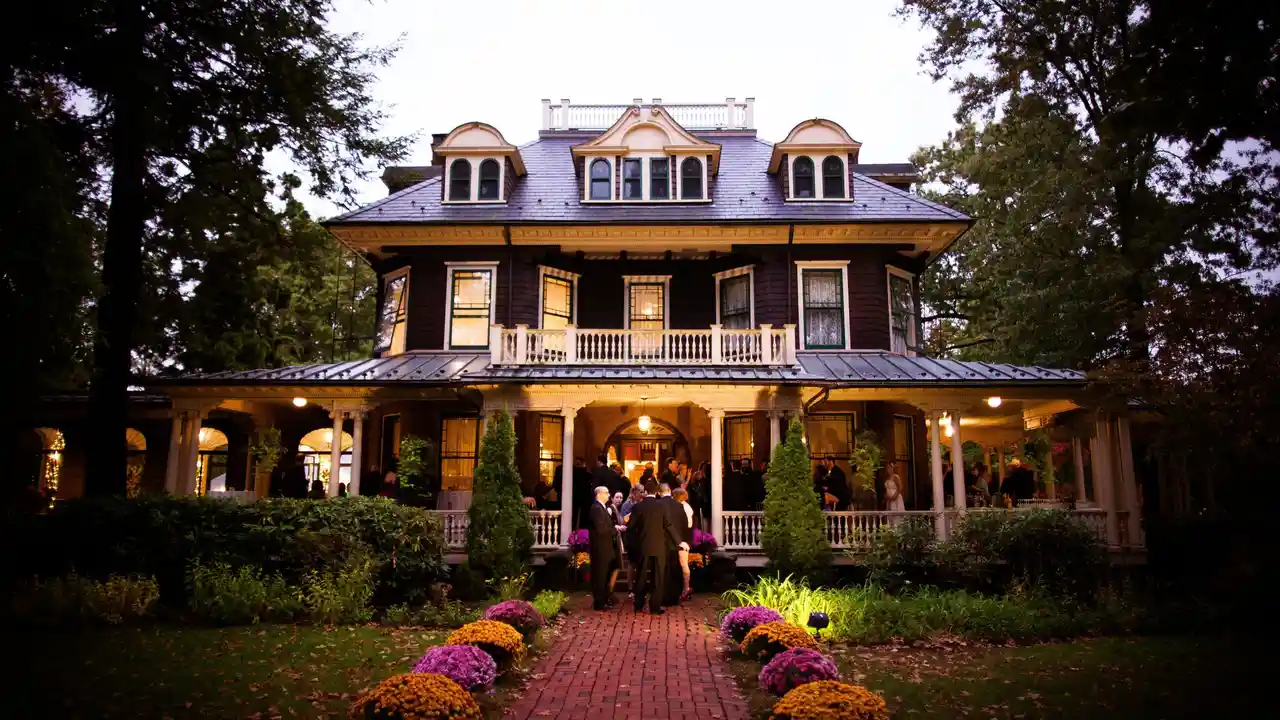
Dark and moody – the opposite of light and airy! This style embraces deep shadows, rich colors, and a dramatic atmosphere. It's ideal for indoor weddings with interesting architecture, or for couples who want a more edgy and artistic look. Think castles, dimly lit churches, and dramatic landscapes.
Before: A normally exposed image with balanced light.
After: Shadows are deepened, highlights are reduced, and colors are saturated for a rich and dramatic effect. Skin tones are warm but not overly bright.
Pros: Creates a dramatic and artistic feel, works well in low-light situations, can add depth and dimension.
Cons: Can be too intense for some couples, may not be flattering for all skin tones, requires careful execution to avoid looking muddy.
Warm and Vintage Editing Examples for Timeless Wedding Memories
Warm and vintage – this style aims to recreate the look of film photography. Think warm tones, slightly desaturated colors, and a subtle grain. It's perfect for couples who want a nostalgic and timeless feel to their photos. Think rustic barns, vintage dresses, and classic cars.
Before: A digitally captured image with clean and accurate colors.
After: Warm tones are added, colors are slightly desaturated, and a subtle grain is applied. Skin tones are given a warm and slightly retro feel.
Pros: Creates a timeless and nostalgic feel, adds character and warmth, works well with a variety of wedding styles.
Cons: Can look dated if overdone, may not appeal to couples who prefer a modern look.
Black and White Editing Examples for Classic Wedding Photography
Black and white – a classic for a reason! This style focuses on contrast, texture, and emotion. It's a versatile choice that can work for any wedding style. It strips away the distractions of color and allows the viewer to focus on the moment.
Before: A color image with balanced exposure and natural colors.
After: The image is converted to black and white, contrast is adjusted, and details are sharpened. The goal is to create a timeless and impactful image.
Pros: Creates a timeless and elegant feel, emphasizes emotion and composition, works well with any wedding style.
Cons: Some couples may prefer color images, requires careful attention to contrast and tonality.
Natural Editing Examples for Authentic Wedding Photos
Natural – the goal here is to enhance the existing colors and lighting without drastically altering the image. This style is perfect for couples who want their photos to look as realistic as possible. Think outdoor weddings with beautiful scenery, or couples who value authenticity.
Before: A well-exposed image with accurate colors.
After: Subtle adjustments are made to exposure, contrast, and color balance. The goal is to enhance the existing beauty without creating an overly stylized look.
Pros: Creates a realistic and authentic feel, showcases the natural beauty of the wedding, appeals to couples who prefer a minimalist aesthetic.
Cons: May not be as visually striking as other styles, requires excellent shooting skills to begin with.
Wedding Photography Editing Software Recommendations and Pricing
Now that you're armed with knowledge about different editing styles, let's talk about the tools you'll need to bring your vision to life. Here are a few of my favorites, along with their pricing and pros and cons.
Adobe Lightroom Classic The Industry Standard
Description: Lightroom Classic is the industry standard for wedding photographers. It offers a comprehensive set of tools for organizing, editing, and exporting your photos. It's subscription-based and integrates seamlessly with other Adobe products like Photoshop.
Use Cases: Everything from basic exposure adjustments to complex color grading. Perfect for batch editing large quantities of wedding photos.
Comparison: Compared to Lightroom CC (cloud-based), Lightroom Classic offers more advanced features and better performance for large image libraries.
Pricing: Part of the Adobe Creative Cloud Photography plan, which costs around $9.99 per month.
Capture One Pro A Powerful Alternative to Lightroom
Description: Capture One Pro is a powerful alternative to Lightroom, known for its superior color rendering and tethering capabilities. It's a favorite among professional photographers who demand the highest image quality.
Use Cases: Excellent for studio work and situations where accurate color reproduction is critical. Offers advanced masking and layering tools.
Comparison: Compared to Lightroom, Capture One Pro offers more control over color and detail, but it can be more complex to learn.
Pricing: Available as a subscription or a perpetual license. Subscription plans start around $24 per month, while a perpetual license costs around $299.
Luminar AI Quick and Easy Photo Editing
Description: Luminar AI is an AI-powered photo editor that simplifies the editing process. It uses artificial intelligence to analyze your images and suggest appropriate adjustments. It's a great option for beginners or photographers who want to save time.
Use Cases: Perfect for quick and easy edits, especially for portraits and landscapes. Offers a variety of AI-powered tools for enhancing skies, skin, and other elements.
Comparison: Compared to Lightroom and Capture One Pro, Luminar AI is less powerful but much easier to use. It's a good option for photographers who don't need advanced features.
Pricing: Available as a one-time purchase, typically around $79.
Alien Skin Exposure X7 Film Simulation Software
Description: Exposure X7 specializes in film simulation. It allows you to easily mimic the look of classic film stocks, adding a unique and vintage feel to your wedding photos.
Use Cases: Great for achieving warm, vintage, or black and white film looks. Can be used as a standalone editor or as a plugin for Lightroom and Photoshop.
Comparison: While Lightroom and Capture One Pro offer some film simulation capabilities, Exposure X7 is dedicated to this purpose and offers a wider range of options.
Pricing: Available as a one-time purchase, typically around $149.
Wedding Photography Editing Workflow Optimization Tips
Okay, you've got your software and your style. Now, let's talk about workflow. A streamlined workflow can save you tons of time and frustration. Here are a few tips to keep in mind:
- Culling: Be ruthless with your culling. Get rid of blurry, poorly exposed, or redundant images. This will save you time in the long run.
- Batch Editing: Use batch editing to apply consistent adjustments to multiple images at once. This is especially useful for exposure and white balance.
- Presets: Create or purchase presets to quickly apply your signature editing style to your photos.
- Keyboard Shortcuts: Learn keyboard shortcuts to speed up your workflow.
- Organization: Keep your files organized with a consistent naming convention and folder structure.
The Importance of Consistency in Wedding Photography Editing
We've touched on this briefly, but it's worth reiterating. Consistency is absolutely crucial in wedding photography editing. Your clients want a cohesive and unified look throughout their entire gallery. Avoid drastic changes in style from one photo to the next. Stick to your chosen aesthetic and apply it consistently across all images.
Understanding Client Preferences for Wedding Photo Editing
Before you start editing, it's important to understand your client's preferences. Ask them about their vision for their wedding photos. Do they prefer a bright and airy look, or a more dramatic and moody style? Do they have any specific requests or concerns? Getting their input upfront will help you deliver photos that they will absolutely love.
Ethical Considerations in Wedding Photo Editing
Finally, let's talk about ethics. It's important to edit responsibly and avoid making drastic alterations to your clients' appearance. Removing blemishes is fine, but completely changing their features is not. Be transparent about your editing process and always prioritize authenticity.
So there you have it – a comprehensive guide to wedding photography editing styles. Now go out there and create some stunning images!
:max_bytes(150000):strip_icc()/277019-baked-pork-chops-with-cream-of-mushroom-soup-DDMFS-beauty-4x3-BG-7505-5762b731cf30447d9cbbbbbf387beafa.jpg)